
Introduction
How does the angle of a solar panel affect solar energy output? In this lab, students will conduct an investigation and use real-world instruments and tools to find out the answer to this question. They will learn how to accurately collect data, make conclusions based on careful analysis, and present their findings.
Student Objectives
Students will be able to
- Investigate how changing the angle of a solar panel affects its electricity output.
- Analyze data from repeated trials to draw conclusions about optimal panel placement.
- Connect findings to real-world solar panel installation and energy design.
Materials
- Student Handout
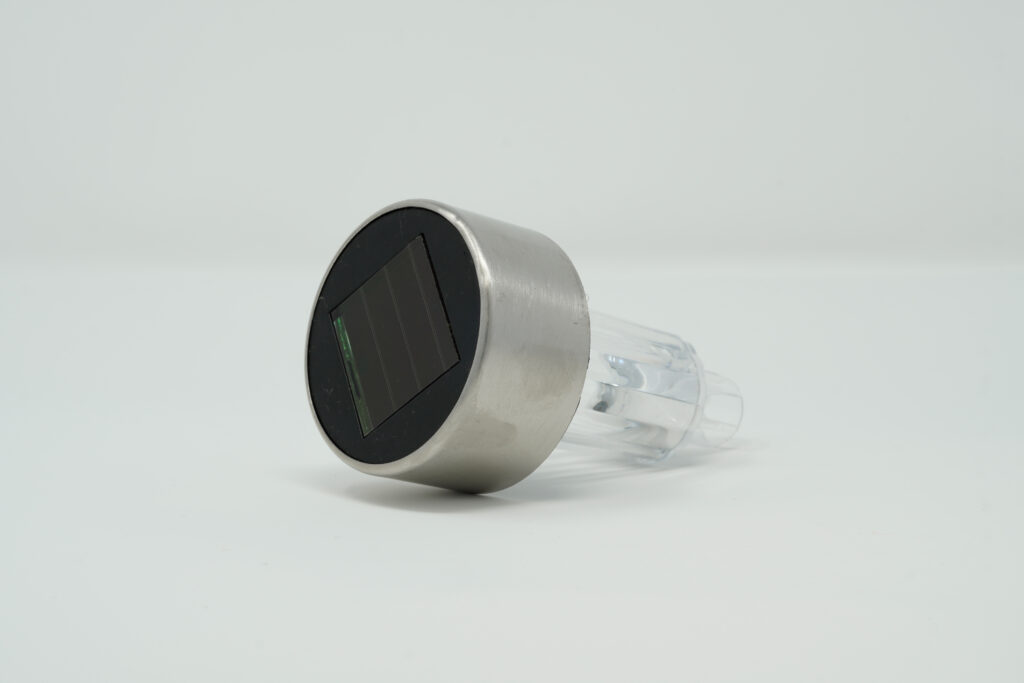
- Small solar panel or solar garden lights*
- Multimeter (to measure voltage and/or current)
- Duct or electric tape (to connect probes to wire ends)
- Protractor or adjustable stand (for precise angles)
- Lamp (with a consistent, bright bulb), a grow light, or bright sunlight
- Ruler/tape (to keep distance from light source constant)
- Graph paper or digital graphing tool
- Flinn Scientific Kit (optional): Complete lab kit available here: Build a Solar Cell Kit
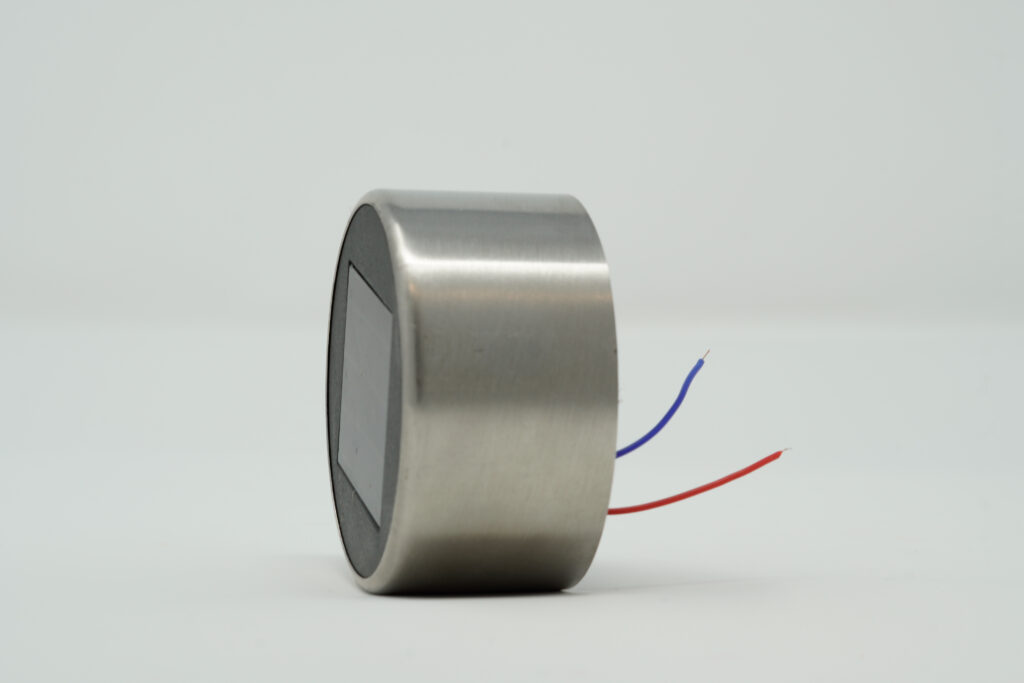
*Instructions for Using Solar Garden Lights
- Turn Off the Light: Make sure the solar light is switched off and dry before opening it.
- Open the Solar Light: Look for screws or clips on the casing. Carefully open it to expose the small solar panel and its wires.
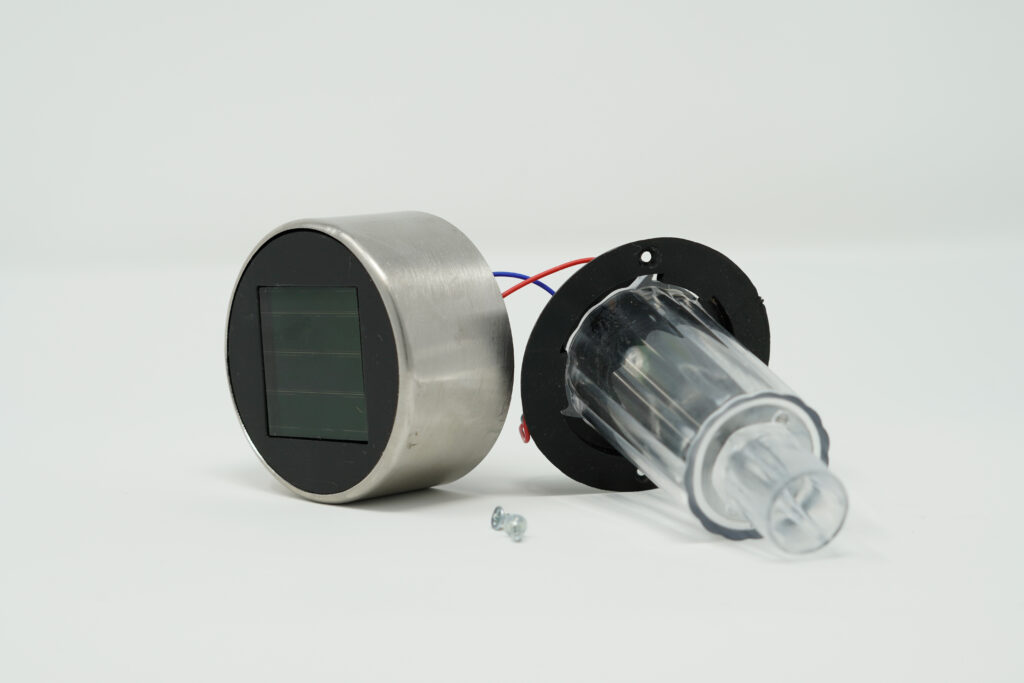
- Locate the Wires: Find the two thin wires running from the solar panel to the battery or circuit board.
- Disconnect the Wires: Remove the battery and carefully disconnect the two wires from the battery terminals.
- Expose the Wire Ends: If needed, strip about 1 cm of insulation from each wire using wire strippers or scissors. Be gentle to avoid breaking the wires.
Procedure:
- Divide the students into groups and provide each group with the Student Handout.
- Students will discuss the lab question “How does the angle of a solar panel affect how much electricity it produces?” and identify the independent, dependent and controlled variables.
- Students will discuss with their group and write their own hypothesis (If, Then Statement).
- Students will follow the instructions on the Student Handout to conduct the experiment, including multiple trials.
- Students will graph their results using graphing paper or an online digital tool (based on teacher preference or student choice).
- Finally, they will answer analysis questions and summarize the conclusion of their investigation.
Notes on Sunlight and Panel Angles (Sunlight vs. Lamp Experiments)
- When students conduct the experiment using a lamp, 0° represents maximum perpendicular light exposure—essentially the “ideal” alignment of panel and light source.
- In sunlight, however, 0° just means the panel is lying flat. The actual solar angle will depend on geographic location, time of day, and season. Therefore, students will likely see higher voltages at angles closer to the current solar altitude.
Discussion Prompt: Ask students why the best angle changes in sunlight but not with a fixed lamp. This helps reinforce real-world applications of solar tracking and seasonal solar energy collection.
Tip for Outdoor Setup: Recommend that students take note of the time and location during the experiment and optionally look up the current solar elevation angle using an app or website. This helps them connect their measured “best angle” with the sun’s actual position in the sky.
Teacher Tips
- Have students share and compare their data to discuss variability and sources of error.
- Reinforce the importance of multiple trials and averaging for scientific reliability.
- Discuss how this lab models engineering design – optimizing a system based on evidence.
Assessment Rubric
| Criteria | 3 – Excellent | 2 – Satisfactory | 1 – Needs Improvement |
|---|---|---|---|
| Completed data table | All data recorded clearly | Most data recorded | Missing/unclear data |
| Graph is accurate and labeled | All points/labels correct | Minor errors | Major errors/missing graph |
| Analysis questions | Thoughtful, complete answers | Some details missing | Answers incomplete |
| Safety and teamwork | Followed all instructions | Minor reminders needed | Did not follow instructions |
Answer Key
Lab Question: A. angle of the solar panel B. electricity C. light intensity, type of solar panel, distance from the light source
Hypothesis: Answers will vary. (Example: If the solar panel is angled to face the light source directly, then it will produce the most electricity.)
Analysis Questions: Answers will vary.
Optional Extension Activities
1. Light Source Comparison
Repeat the experiment using different types of lamps (LED, incandescent, fluorescent) or try under both sunlight and artificial light. Record and compare your results.
2. Seasonal Effects
Research how the optimal angle for solar panels changes with seasons in your location. How would this affect your experiment and real-world installations?
3. Cost Analysis
Estimate the cost savings for a homeowner if they increase panel output by 20% due to better angle placement. Use research to find local electricity rates.
4. Shading Investigation
Test how partial shading (covering part of the panel) impacts voltage/current at the best angle. What does this imply for panel placement on rooftops?
5. Real-World Design Proposal
Design a solar panel setup for a specific building (your school, home, etc.), justifying your angle choice based on data and research.