Introduction
In this hands-on activity, students will step into the role of engineers to design, build, and test their own model wind turbines. Using simple, everyday materials, they will explore how blade shape, size, and structure impact turbine performance while applying the engineering design process to a real-world energy challenge. Through experimentation and analysis, students will deepen their understanding of how wind energy is converted into mechanical energy and how innovation can improve energy efficiency.
Materials
- Student Handout
- Components of a Wind Turbine (included)
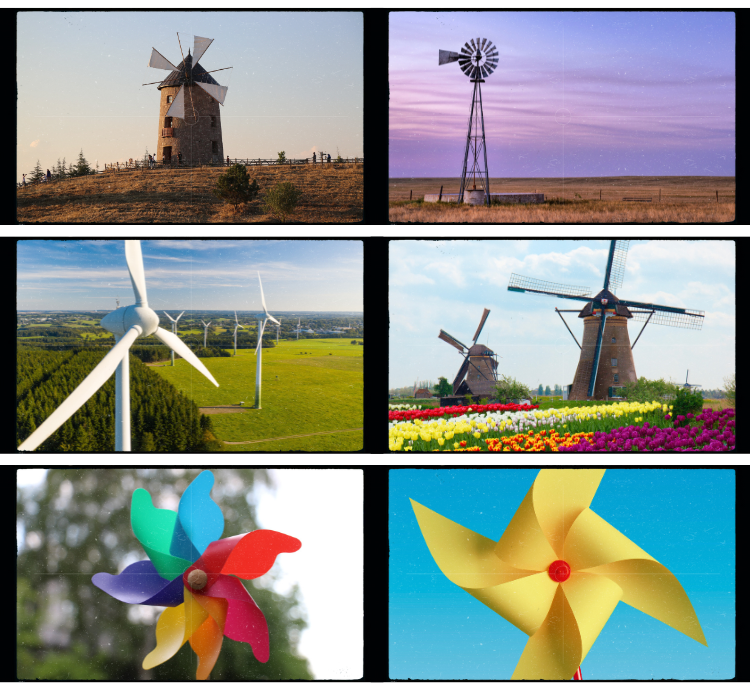
- Pictures of wind turbines (included)
- Plastic/wax paper cups or recycled supplies
- 1g-190g weights (optional)
- Cardboard
- Wooden skewers
- Paperboard
- Tape and rulers
- String
- Fan or hair dryer for wind generation
- Extension cord (optional)
- Flinn Scientific Kit (optional): Complete lab kit available here: Wind Energy – Student Laboratory Kit
Student Objectives
Students will be able to:
- Design, build, and test a model wind turbine using the engineering design process.
- Analyze how changes in blade design and turbine structure affect performance and efficiency.
Activity
1. Setup: Split students into groups of 2-3. Place all available building materials on a central supplies table. Distribute Experimental Design Form to each student. Ensure that you have access to a power source for the fan and/or hair dryer.
2. Intro: Show students the pictures of wind turbines and ask, “What do you notice about these wind turbines?” Answers may include the shape, angle, number, length and width of the blades, the size of the tower, the proximity to other wind turbines, the ladders to access the offshore turbines, etc.
3. Goal: Students must construct a windmill that can raise a plastic cup to touch the “nacelle” (see Components of a Wind Turbine). Which team can raise their cup the fastest? Choose a fan/hairdryer speed, location and angle and demonstrate the “weather conditions” to the class.
Note: Wind turbines can be secured to the edge of a desk and cups must hang beyond the edge of the desk. Towers must be 12″ high. String length (from top of the cup to the nacelle) must be 14″. “Weather conditions” must remain constant during testing and presentation stages.
Alternative goal: Increase difficulty by challenging teams to use weights instead of cups. Which team can raise a 2g weight to the nacelle the fastest? Of the finalist teams, which team’s wind turbine can lift the most weight?
4. Activity Stage 1: Each group has 20-30 minutes to research and plan a design for a wind turbine that can lift a plastic cup using the provided materials. Students can use the Experimental Design form in the Student Handout and should plan to submit any extra sketches made during this stage. Students must make a hypothesis about the shape and number of blades on their turbine. Designs must be approved by an instructor.
5. Activity Stage 2: Teams spend 30-45 minutes building and testing the wind turbine. Students should secure the string and cup to the turbine in such a way that the string wraps around the nacelle as the blades turn. Students must document their findings on the Experimental Design Form (Student Handout).
6. Analyze and Discuss: Teams present their hypothesis and findings, then test their turbine in front of the class. Time how long it takes for the cup to raise to the top. Encourage class feedback and discussion after each demo, creating and testing hypotheses throughout presentations.
7. Submit: Complete and submit the Experiment Design Form (Student Handout), along with any additional sketches.
Components of a Wind Turbine
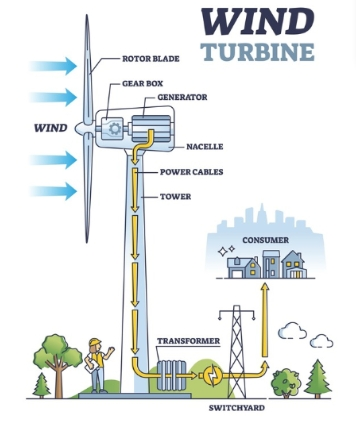
source: https://doi.org/10.1007/s11356-023-29653-9
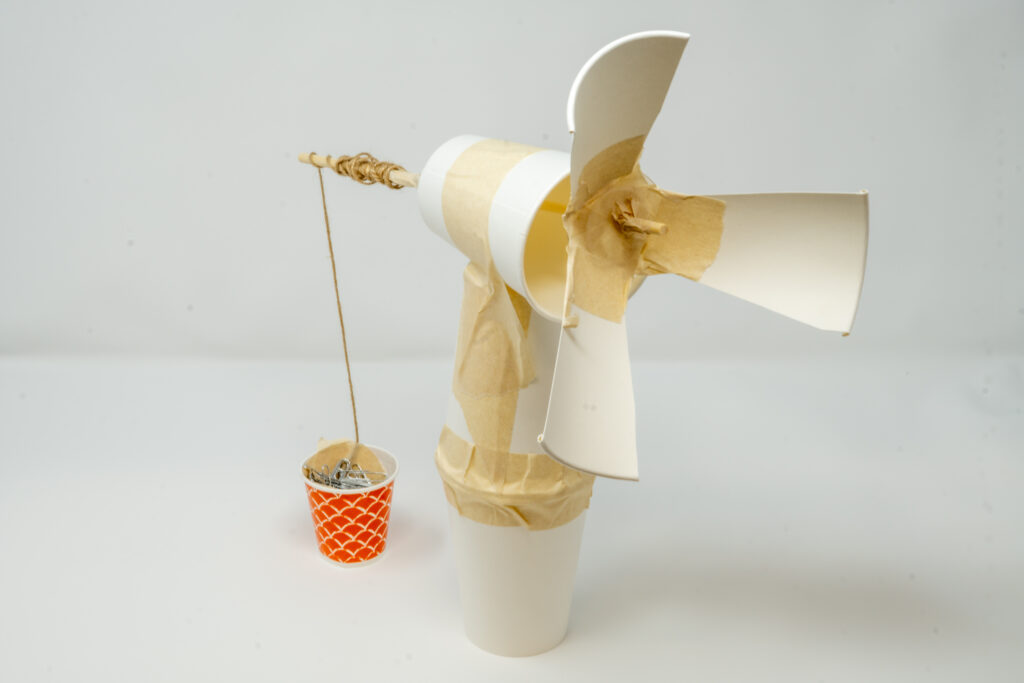
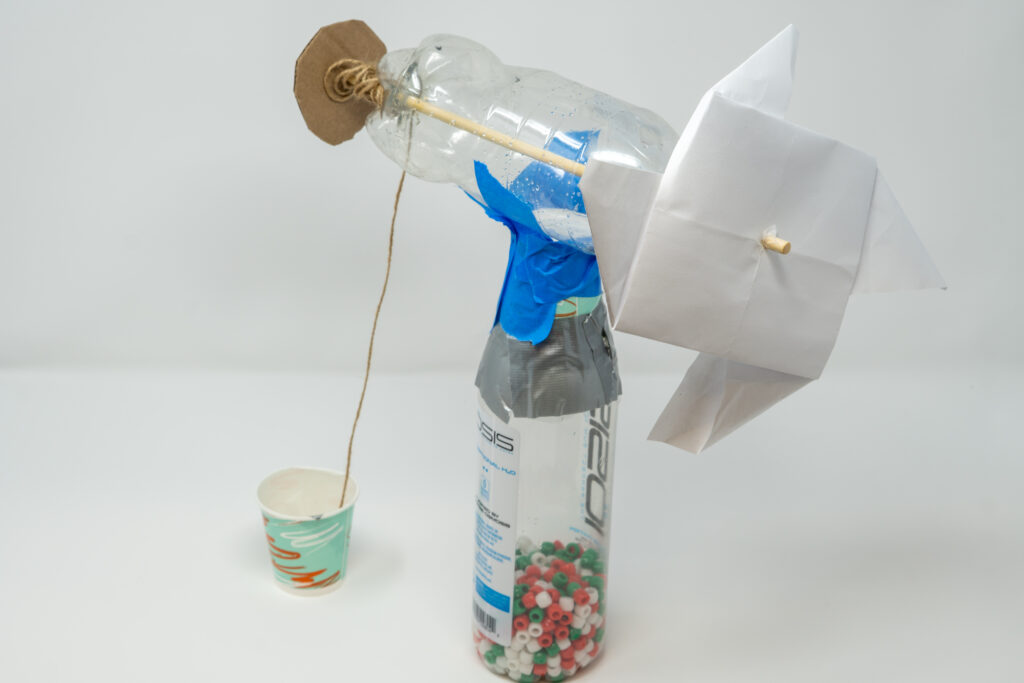
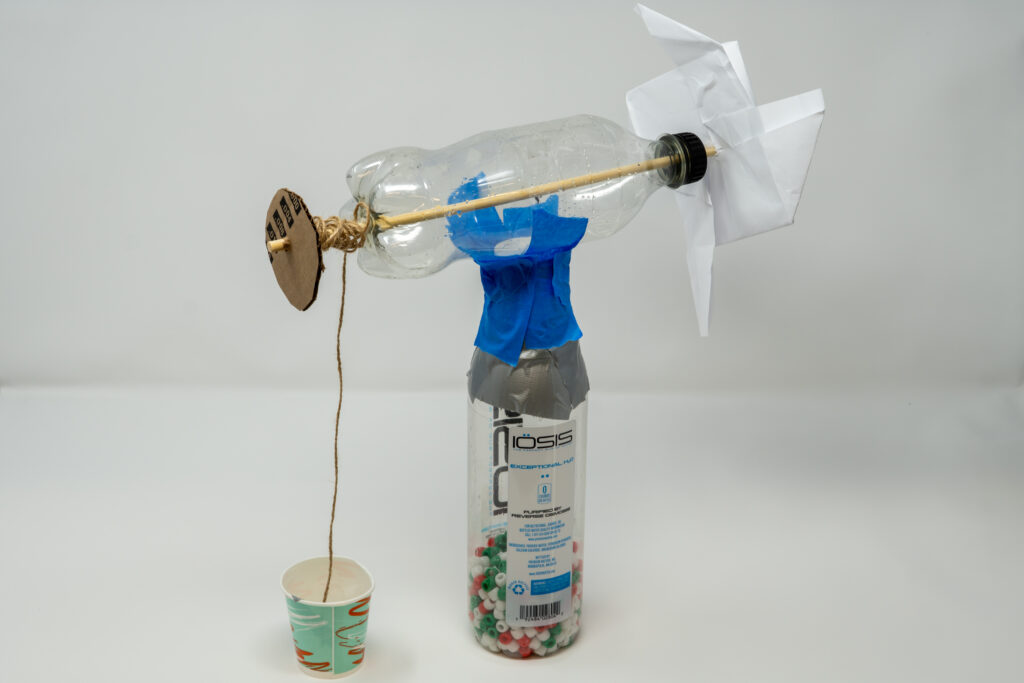
Student Examples: